
Showing posts with label How to. Show all posts

Sunday, 25 February 2018

Text to Curve


I am going to show you how you can use text to curve in Photoshop
The examples above can be used with any preset shape that you have
This tutorial uses the simple circle shape

~~~~~~~~~~~~~~~~~~~~~~~~~~~~~~~~~~~~~~~~

Open a document of any size
I have gone for 500x500px

Now on to the left select the Custom Select Tool
and where you see the small arrow click on it and select the Ellipse Tool 
Hold shift on your keyboard and create a circle to your canvas
Colour and size doesn't matter
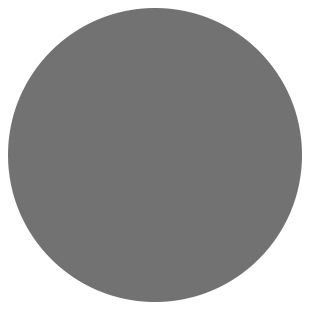

Now select your Text Tool and at this point the colour and font doesn't matter
For this tutorial I have gone for black as the colour
Select about the middle of the top of the circle
You will see a small wave when you hover any part of the circle
Now type in any text that you want
I have gone for my blog name
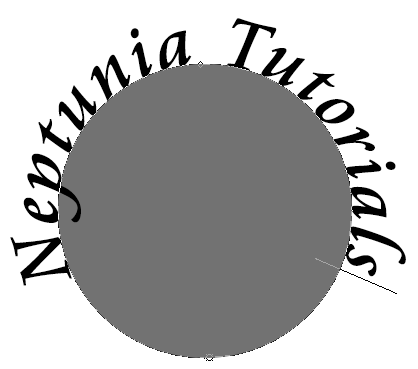

Go to your layers palette to your right and hide the Ellipse 1 layer
This will hide that layer, click on the top layer, right click
and select Rasterize Type
This will make your text to a raster layer and you can now
delete the Ellipse layer as you don't need it any more
That is how you text to curve in Photoshop
This technique comes in handy when you want a curve to your tag



~~~~~~~~~~~~~~~~~~~~~~~~~~~~~~~~~~~~~~~~

This tutorial was written by Neptunia Tutorials
Any resemblance to any other tutorial or tag is purely coincidental
All my tutorials act as a guide only


Saturday, 27 January 2018

Using Masks

This is not for snagging

This tutorial is showing how that you can use Paint Shop Pro masks in Photoshop
This tutorial was written in Photoshop CS6 and if you know
your version then this should work

~~~~~~~~~~~~~~~~~~~~~~~~~~~~~~~~~~~~~~~~

SUPPLIES:

Mask used is MPM_mask135 from Milllies PSP Madness
Paper used is from one of my own packs,
which you can get at Neptunia Designs

~~~~~~~~~~~~~~~~~~~~~~~~~~~~~~~~~~~~~~~~

OTHER INFORMATION:

For the sake of this tutorial most/all images have been resized

~~~~~~~~~~~~~~~~~~~~~~~~~~~~~~~~~~~~~~~~

Open the mask that you want to use and also open your chosen paper

With the paper image open, go Image >> Image Resize
In either the height or width box type in 700 and click OK
Double click on the Background layer and when the
New Layer window comes up, click OK

On your mask image go to Select >> All and Edit >> Copy
Back to your paper layer go to Edit >> Paste

Click the Channels tab on the Layers palette, press Ctrl and click on the top layer
When doing this you will see a hand with dashed rectangle on top
Mask now should have marching ants around the mask

Click on the Layers tab and hide the mask by clicking on the eye
Highlight the bottom layer and at the bottom you should see a
gradient rectangle with a white circle
Click on it and then you should be able to see that you have use a
Paint Shop Pro mask in Photoshop


Below is a couple of examples using a couple of of other masks and my papers

Click on either one of the images to view at full size

~~~~~~~~~~~~~~~~~~~~~~~~~~~~~~~~~~~~~~~~

This tutorial was written by Neptunia Tutorials
Any resemblance to any other tutorial or tag is purely coincidental
All my tutorials act as a guide only