

I am going to show you how you can use text to curve in Photoshop
The examples above can be used with any preset shape that you have
This tutorial uses the simple circle shape
~~~~~~~~~~~~~~~~~~~~~~~~~~~~~~~~~~~~~~~~
Open a document of any size
I have gone for 500x500px
Now on to the left select the Custom Select Tool 
and where you see the small arrow click on it and select the Ellipse Tool 
Hold shift on your keyboard and create a circle to your canvas
Colour and size doesn't matter
Now select your Text Tool and at this point the colour and font doesn't matter
For this tutorial I have gone for black as the colour
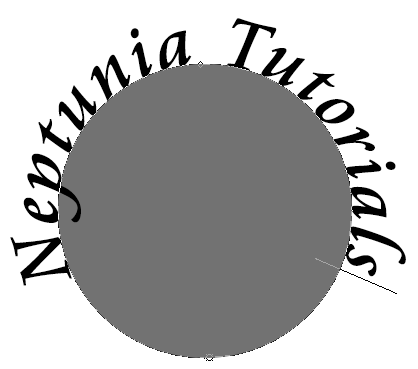
Select about the middle of the top of the circle
You will see a small wave when you hover any part of the circle
Now type in any text that you want
I have gone for my blog name
Go to your layers palette to your right and hide the Ellipse 1 layer
This will hide that layer, click on the top layer, right click
and select Rasterize Type
This will make your text to a raster layer and you can now
delete the Ellipse layer as you don't need it any more
That is how you text to curve in Photoshop
This technique comes in handy when you want a curve to your tag

~~~~~~~~~~~~~~~~~~~~~~~~~~~~~~~~~~~~~~~~
This tutorial was written by Neptunia Tutorials
Any resemblance to any other tutorial or tag is purely coincidental
All my tutorials act as a guide only
No comments:
Post a Comment